Pergola shade ideas work best when they start with the sun path. Open adjustable louvers for daylight and rising warm air, angle them against direct afternoon sun, or use the documented closed position for ordinary rain management. For a raised outdoor room, review the separate pergola on deck planning guide before selecting the footprint.

Backyard pergola ideas

Backyard Pergola Ideas for How You Use the Patio

Put the chairs, grill, sofa, or bar on paper before drawing the roof. The furniture tells you where people sit and move; the sun, doors, pool edge, and service clearances tell you where the posts can go.

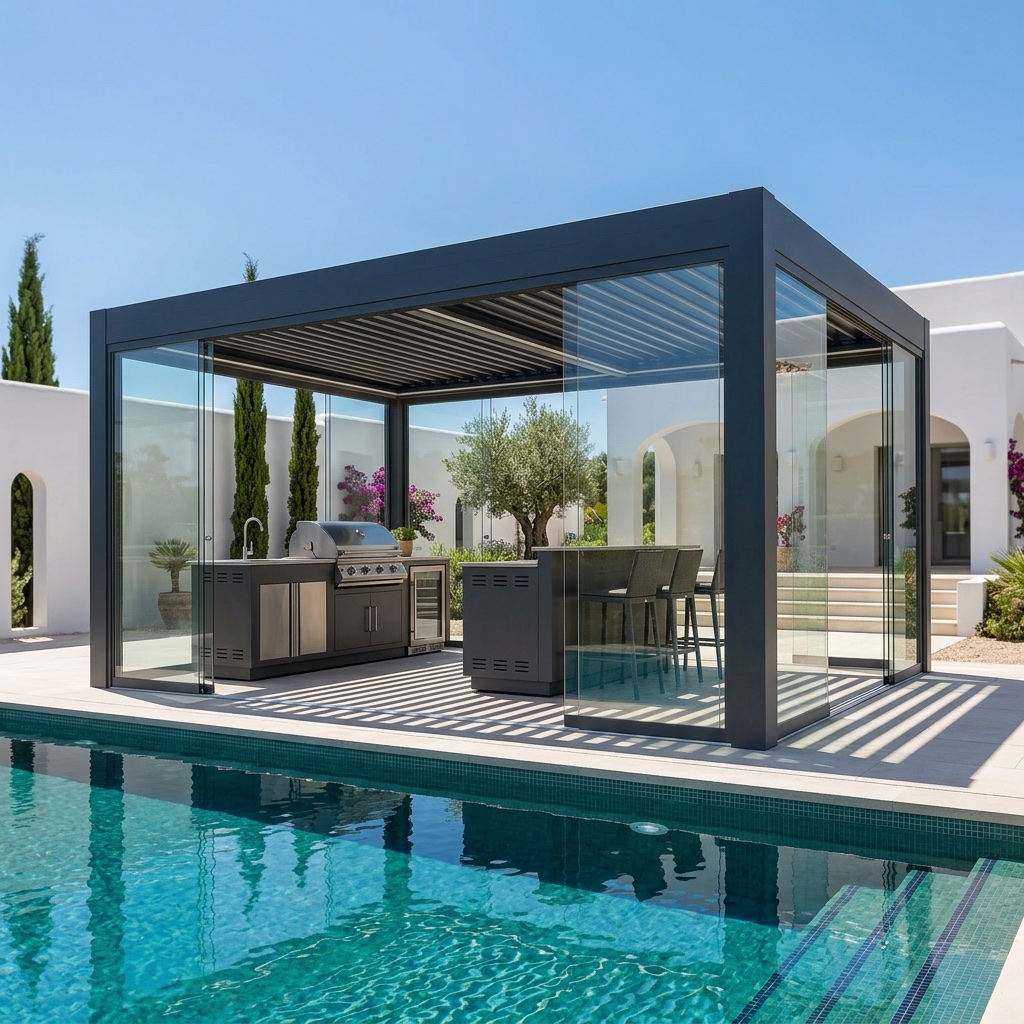
Poolside aluminum pergola configured as an outdoor kitchen and bar

Your next best steps

Turn the layout idea into a measured project.

Choose the idea first, then verify the space, budget the complete job, and match the result to a quote-ready kit.

  1. 01 · MeasureDocument the siteRecord furniture, posts, foundation, and access.
  2. 02 · BudgetPrice the whole projectSeparate product, delivery, site work, labor, and permits.
  3. 03 · ChooseMatch a pergola kitSelect the roof, footprint, layout, finish, and options.
Lay out the furniture first

The dining table, grill run, sectional, or spa establishes the usable area under the roof.

Check low-angle sun

Morning and late-afternoon sun can matter more than noon sun when you choose louver orientation and side screens.

Protect the walkways

Allow for chair pullback, grill clearances, door swing, and clear paths between the house, yard, and pool.

Six practical layouts

Backyard Pergola Ideas for Every Layout

Each layout starts with a real use and the clearance, shade, drainage, or accessory decisions that come with it. Images may show optional accessories.

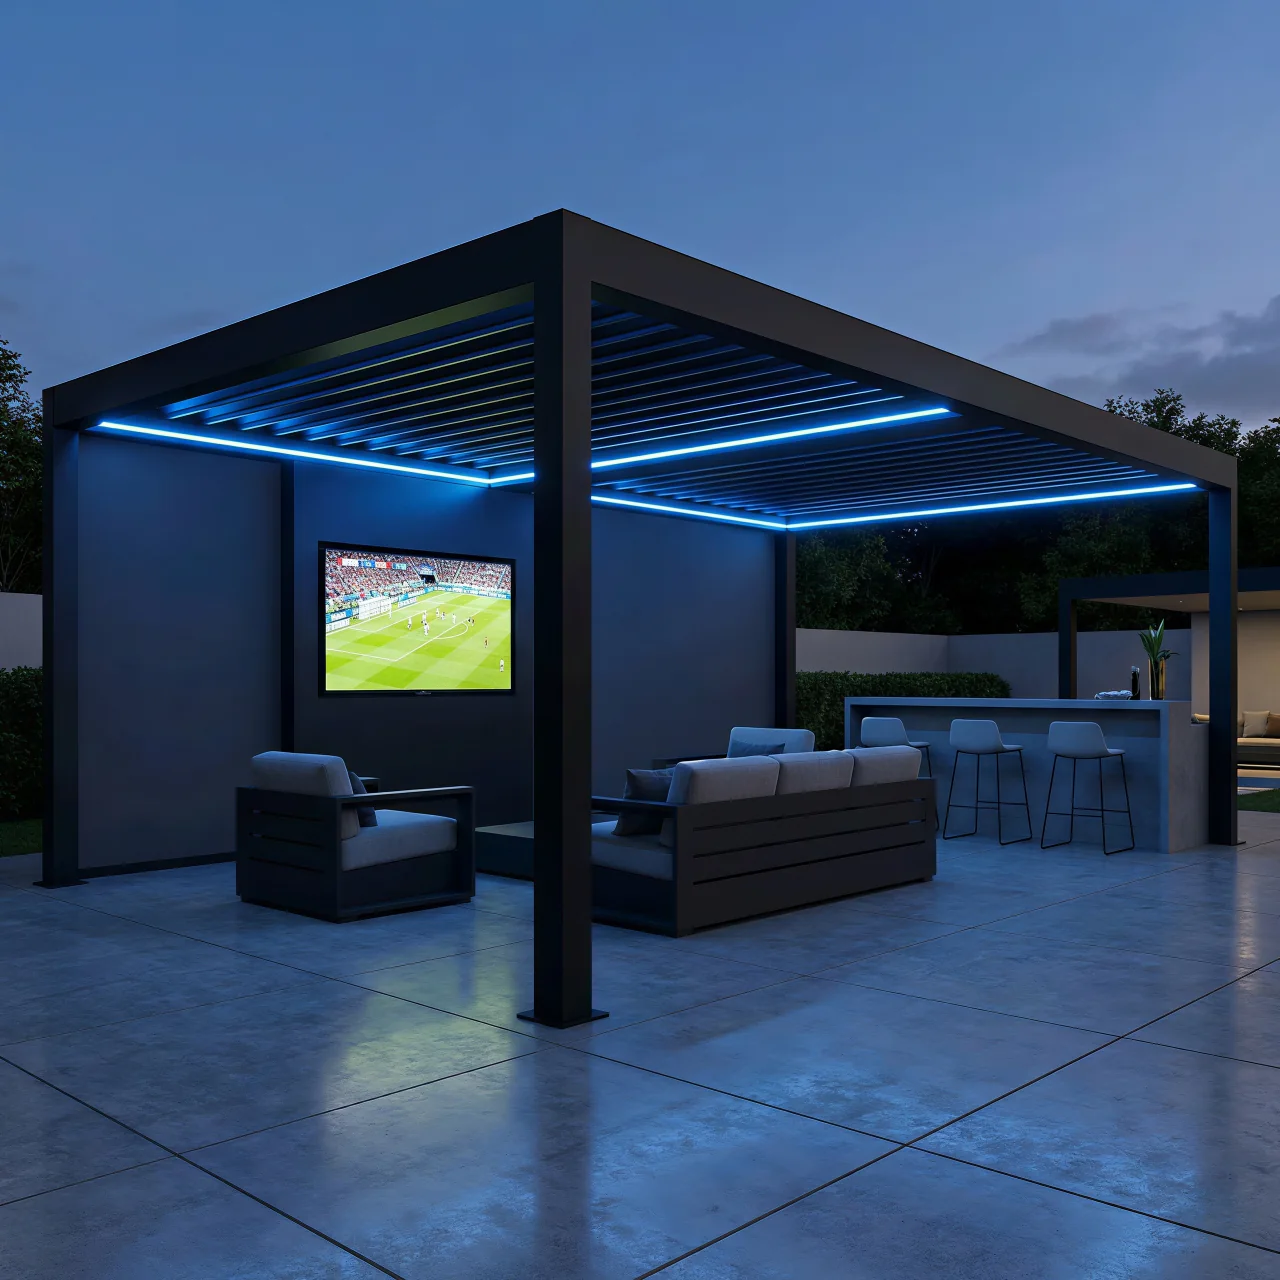
LED-lit aluminum louvered pergola over an outdoor television lounge at night

1. The evening lounge

Center the sectional under the louvered roof, keep any fire feature outside the required clearances, and specify dimmable lighting preparation before production. Start around 13 × 16 feet for a sectional plus a circulation edge, then measure the actual sofa depth and recline. Put ambient and path lighting on separate controls so conversation does not require full brightness.

Sectional seatingLED prep13 × 16+
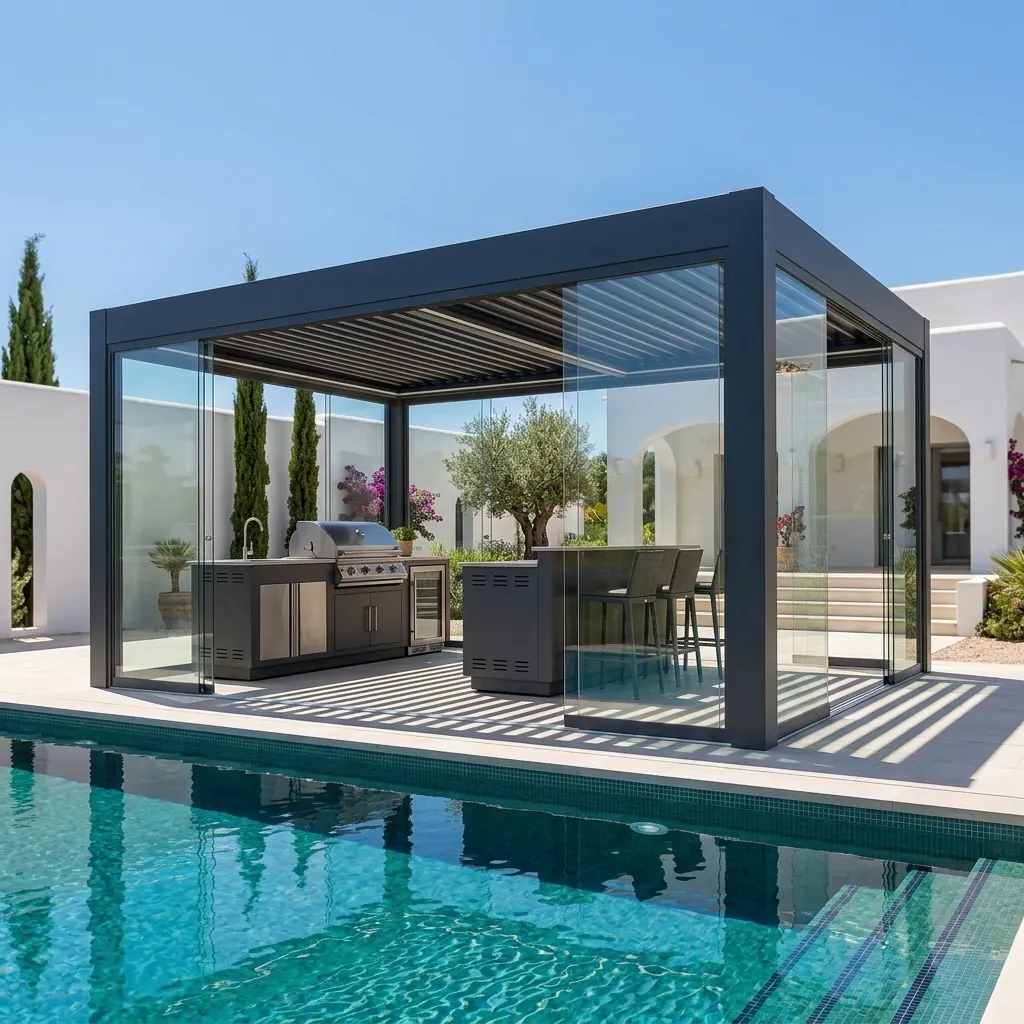
Glass-sided poolside aluminum pergola with dining and bar space

2. The poolside kitchen

Shade the cooking line, maintain the grill manufacturer's clearances, and face the bar seating toward the pool without blocking the required pool-deck walkway. A 13 × 16 foot starting zone can hold one equipment run and seating; deeper islands may require more. Coordinate glass, drains, electrical outlets, fuel, and pool-barrier rules before locating posts.

Outdoor kitchenGlass option13 × 16+
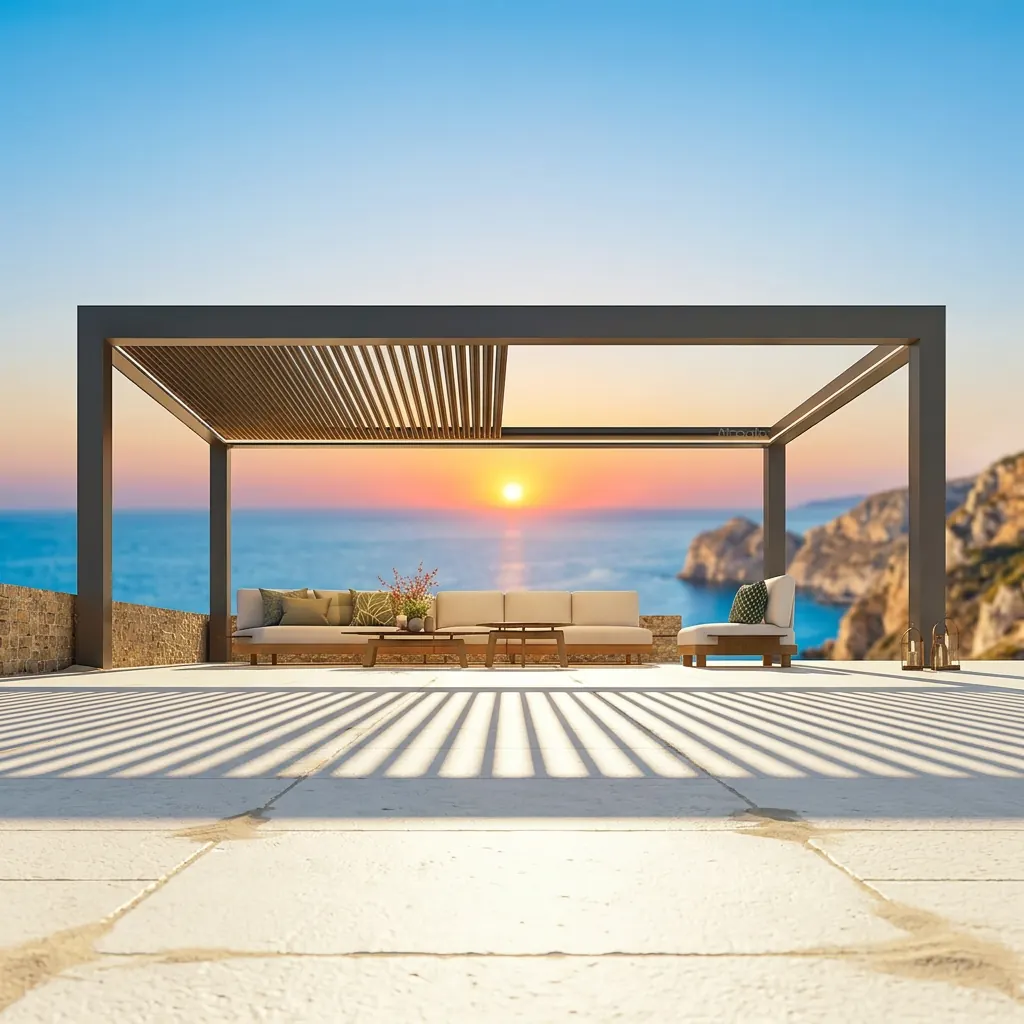
Compact aluminum louvered pergola arranged as a quiet sunset lounge

3. The small-patio retreat

A 10 × 10 ft footprint can cover a bistro table or two lounge chairs. Keep the best view open and place a privacy screen only where exposure calls for one. Tape the post corners on the patio before ordering and test chair pullback and the route from the house. Manual louvers can keep the control scope simple in a space used occasionally.

Bistro tablePrivacy screen10 × 10
Black aluminum louvered pergola arranged as an outdoor dining room beside a modern home

4. The outdoor dining room

Allow for the table, chair pullback, and a clear serving aisle. Align the dining area with the kitchen door, but keep the post locations out of the main traffic path. About 13 × 16 feet is a useful first test for six to eight seats, not a universal minimum. Angle the louvers for the strongest dining-hour sun and plan a low-glare light over the table.

Six to eight seatsMotorized13 × 16
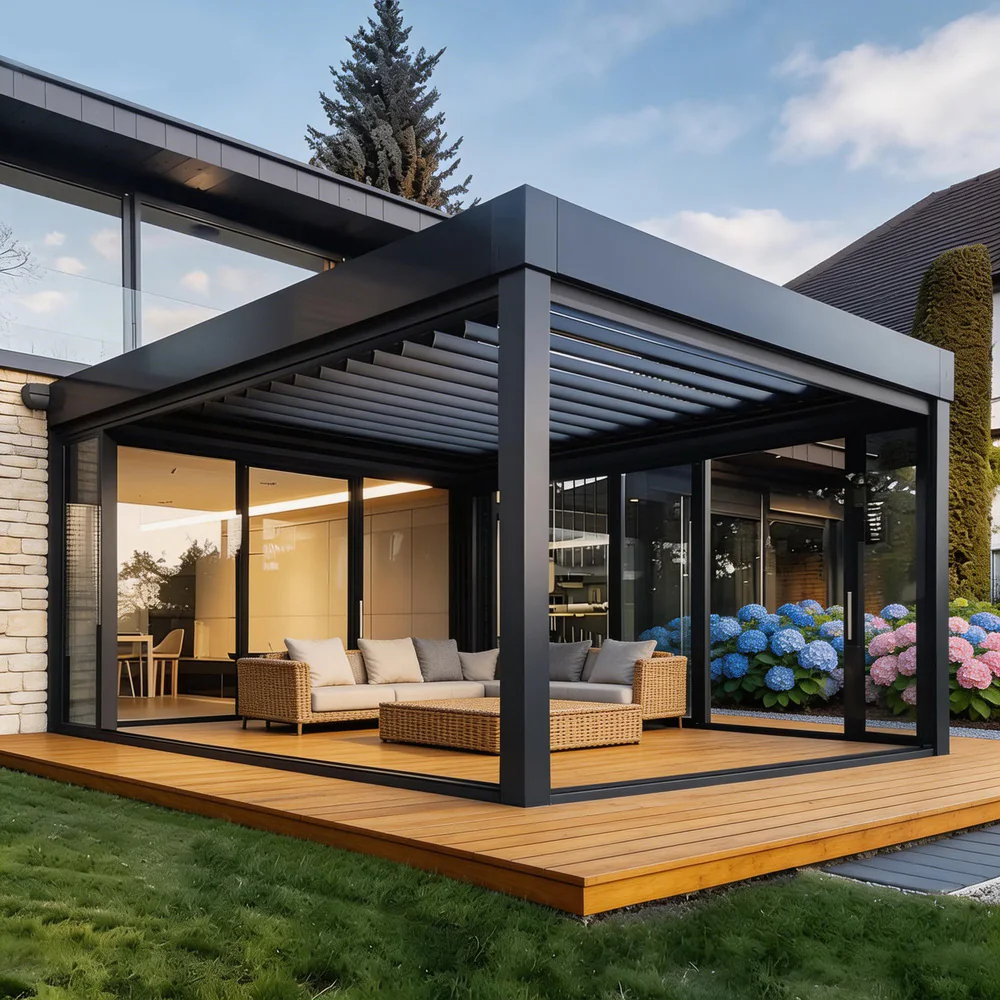
Aluminum louvered pergola linking a house-side patio and backyard lounge

5. The near-house pergola

A freestanding layout can sit close to the house without a wall connection. Check eaves, gutters, doors, foundation separation, and where both roof systems discharge water. Measure the highest door swing and lowest roof edge, then allow construction and cleaning access between systems. Choose an attached layout only after the wall structure, flashing, loads, and permits are reviewed.

Near-house layoutFreestandingClear transition
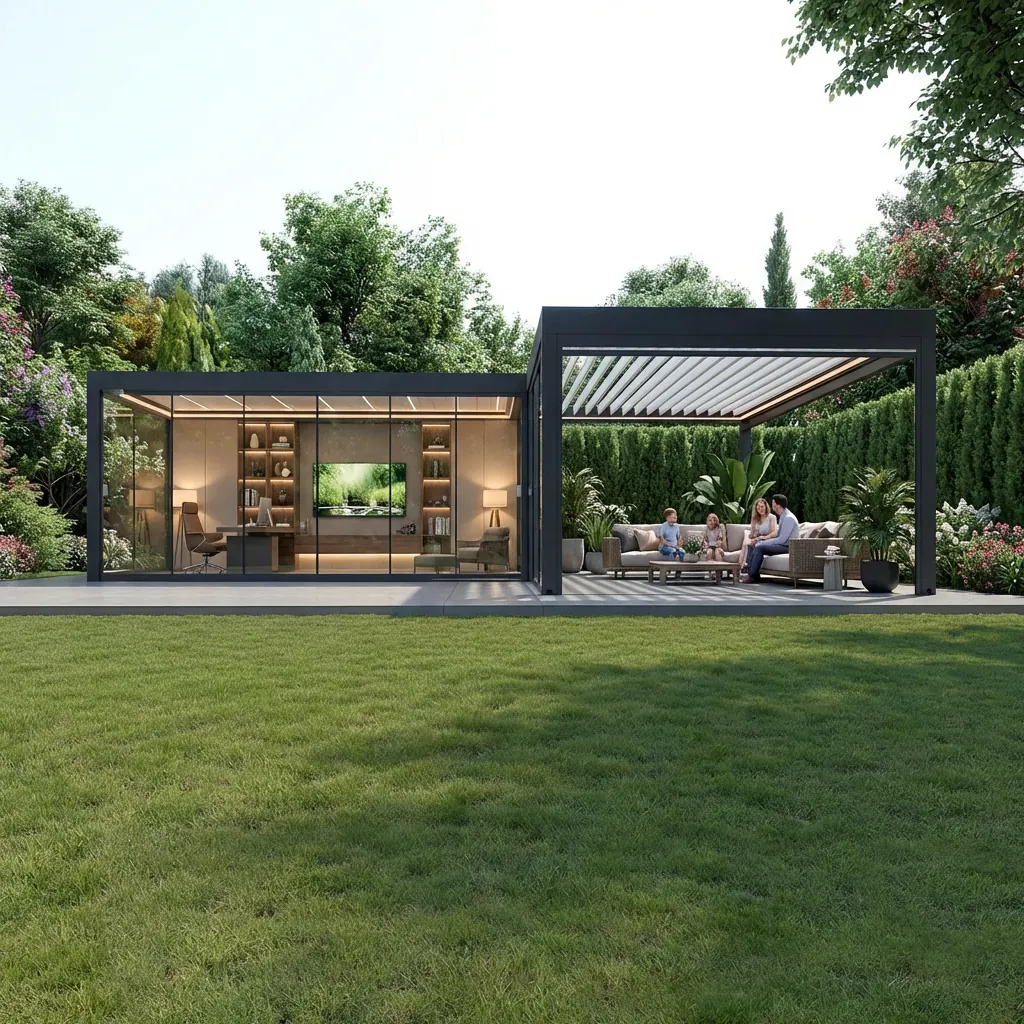
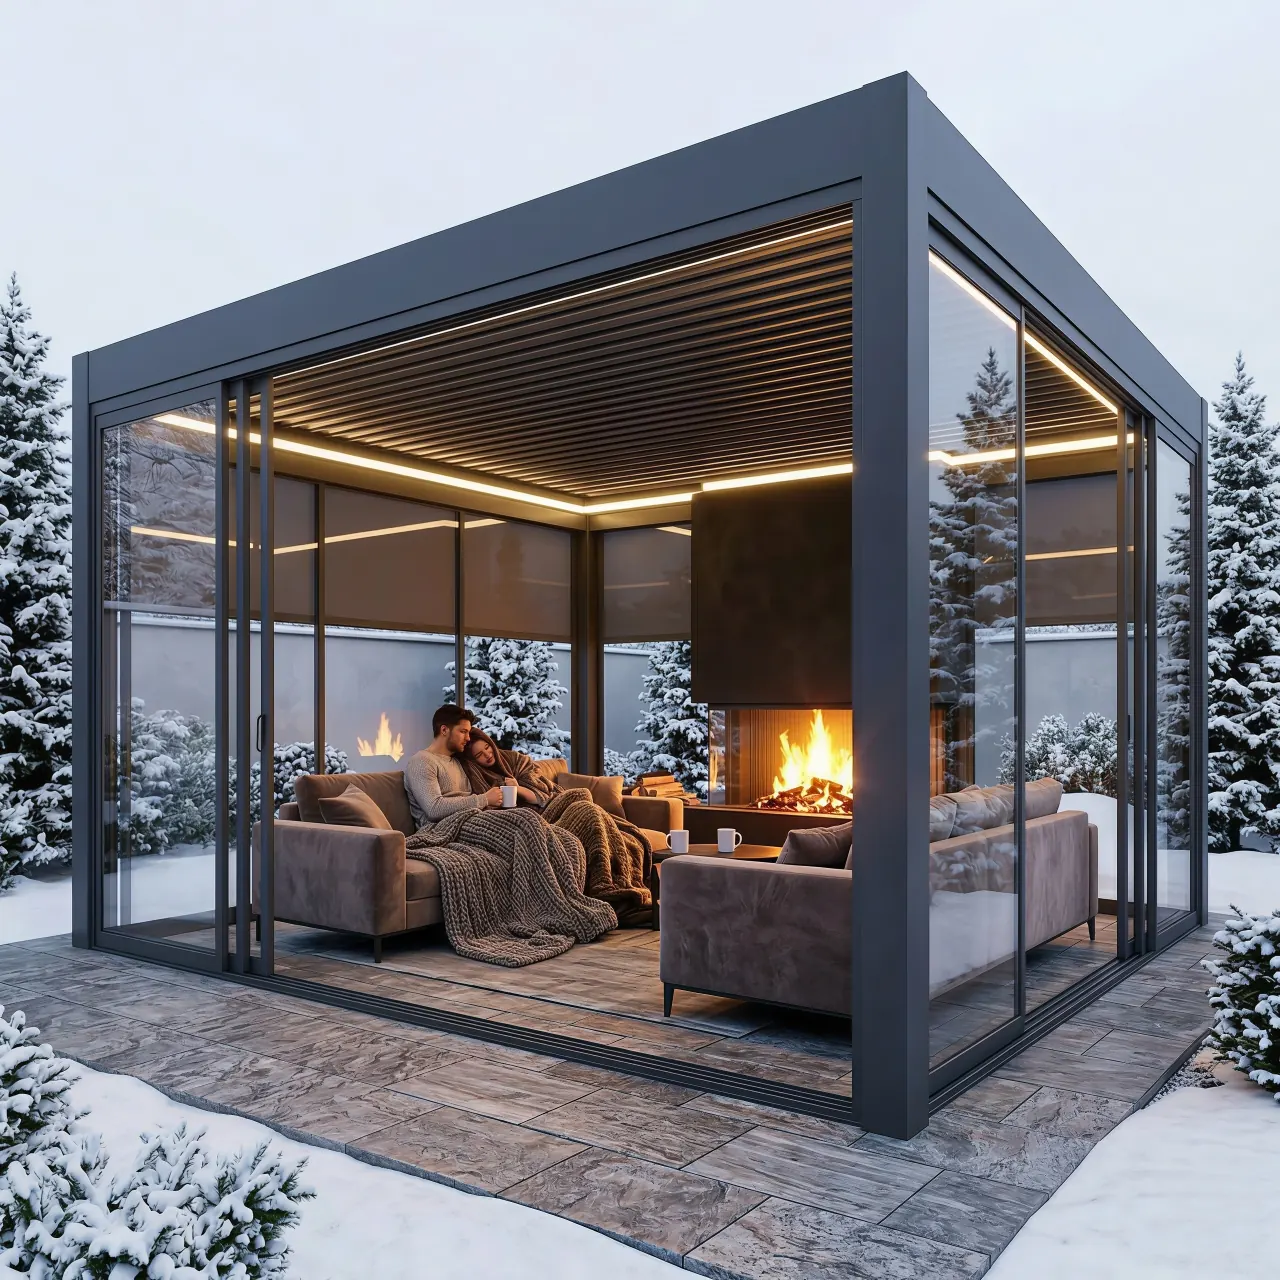
Adjustable louvered pergola with glass side enclosures for a sheltered garden room

6. The screened garden room

Use adjustable louvers overhead and add side protection only where needed. Maintain ventilation, egress, sightlines, and any local rules that apply to enclosed outdoor structures. Start at 13 × 13 feet for a square conversation zone and expand only after placing doors and panels. Screens, glass, heaters, and outlets change wind, attachment, wiring, and service-access questions.

LouversScreens or glassSide protection

From inspiration to plan

Test Each Idea on the Actual Patio

A useful backyard concept survives a full-size layout test, seasonal weather check, and scope review before it becomes a product configuration.

Mark the occupied zone

Lay out the table, chairs, sectional, grill, spa, or cabinets first. Pull chairs back, open doors, recline loungers, and walk the serving route. Then mark post centers and roof edges so the structure protects the activity without trapping circulation.

Observe sun and water

Photograph morning and late-afternoon sun in more than one season. Note prevailing weather, low-angle glare, house-roof runoff, patio slope, and safe drain discharge. Roof orientation and screen placement should answer those observations.

Build the option list early

Choose manual or motorized operation, perimeter or louver lighting preparation, screens, glass, privacy slats, heaters, and outlets before production. Late accessories can conflict with drains, moving blades, service access, connections, and electrical routes.

Take the marked dimensions, photos, foundation information, design criteria, layout preference, accessories, and delivery country and postal code into the quote. The approved shop drawing—not a styled backyard image—controls the final outside dimensions, post locations, roof direction, and interfaces.

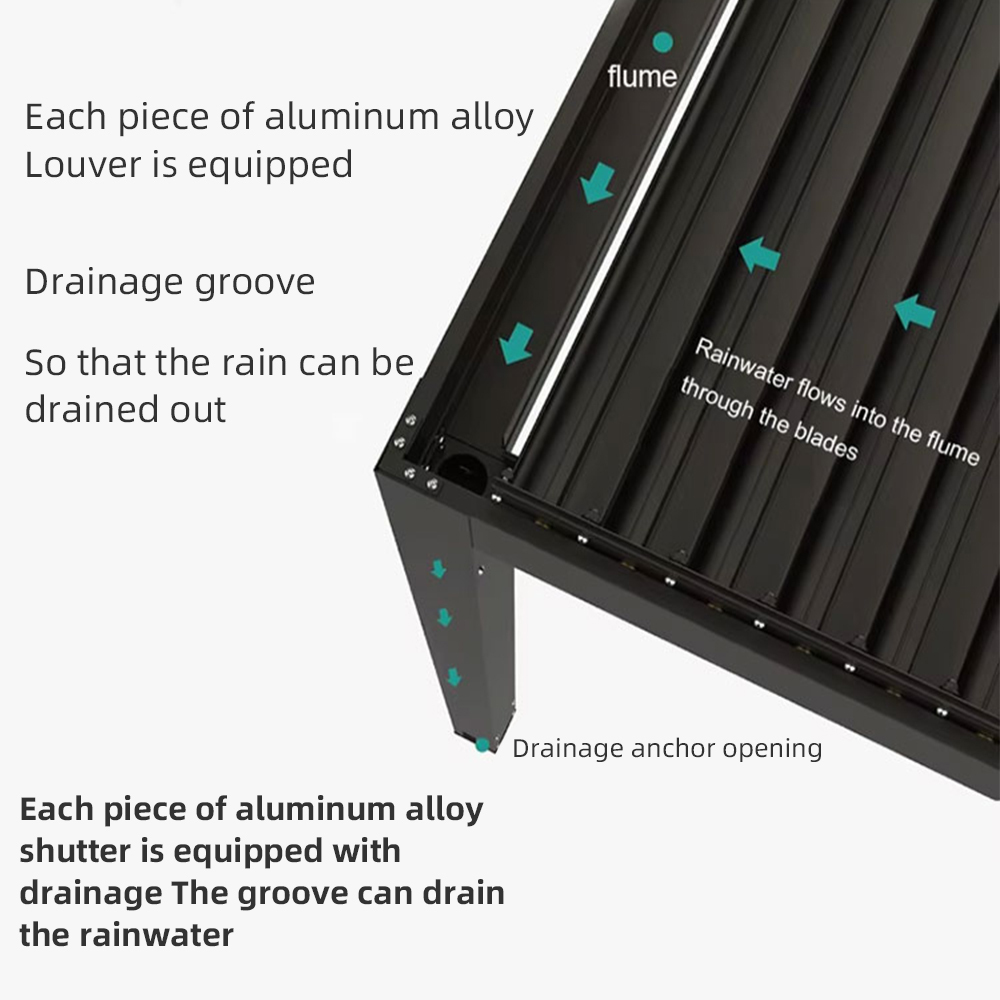
Integrated roof and post drainage detail for a louvered aluminum pergola
Choose the post-drain discharge locations before you lock in the pergola orientation.

Site-planning checks

Account for Sun, Wind, and Roof Runoff

The view is only one part of the layout. Track seasonal sun angles, prevailing weather, runoff from the house, and where the integrated post drains can discharge without washing across a walkway or back toward the foundation.

  • Map morning and late-afternoon sun in different seasons
  • Maintain required clearances from grills, fire features, and pools
  • Keep chair pullback and walkways clear of the posts
  • Route pergola drainage away from foundations and traffic areas
  • Place screens for low-angle sun, privacy, and prevailing wind

Typical starting sizes

Match the Footprint to What Goes Under It

Primary useFurniture / equipmentStarting footprint
Bistro or spa areaBistro set, two lounge chairs, or compact spaAbout 10 × 10 ft
Outdoor diningSix-seat table with chair pullback and a walkwayAbout 13 × 16 ft
Outdoor kitchenGrill run, counter, stools, and required clearancesAbout 13 × 16 ft or larger
Dining and loungeTwo furniture zones with a clear path between themAbout 13 × 19 ft or an engineered multibay layout

Layout FAQ

Questions That Turn Inspiration Into a Buildable Plan

What is a good pergola size for a small backyard?

A nominal 10 × 10 foot footprint is a useful starting test for a bistro table, two loungers, or a compact conversation area. Measure the actual furniture, chair movement, walkway, doors, utilities, roof edge, and post locations before choosing.

Should a pergola be attached to the house?

Not necessarily. A freestanding pergola can sit near the house without transferring loads into the wall. An attached layout needs project-specific review of the wall structure, waterproofing, flashing, loads, eaves, gutters, permits, and drainage interface.

Which accessories should be planned first?

Identify motor controls, perimeter or louver lighting, screens, glass, privacy slats, heaters, and outlets before production. Their mounts, wiring, movement, service access, and wind effects can change the approved configuration.

Take the layout to the site

Measure the furniture zone and post locations.

Compare standard footprints, then use the DIY guide to document footings, anchor layout, truck access, and local requirements.

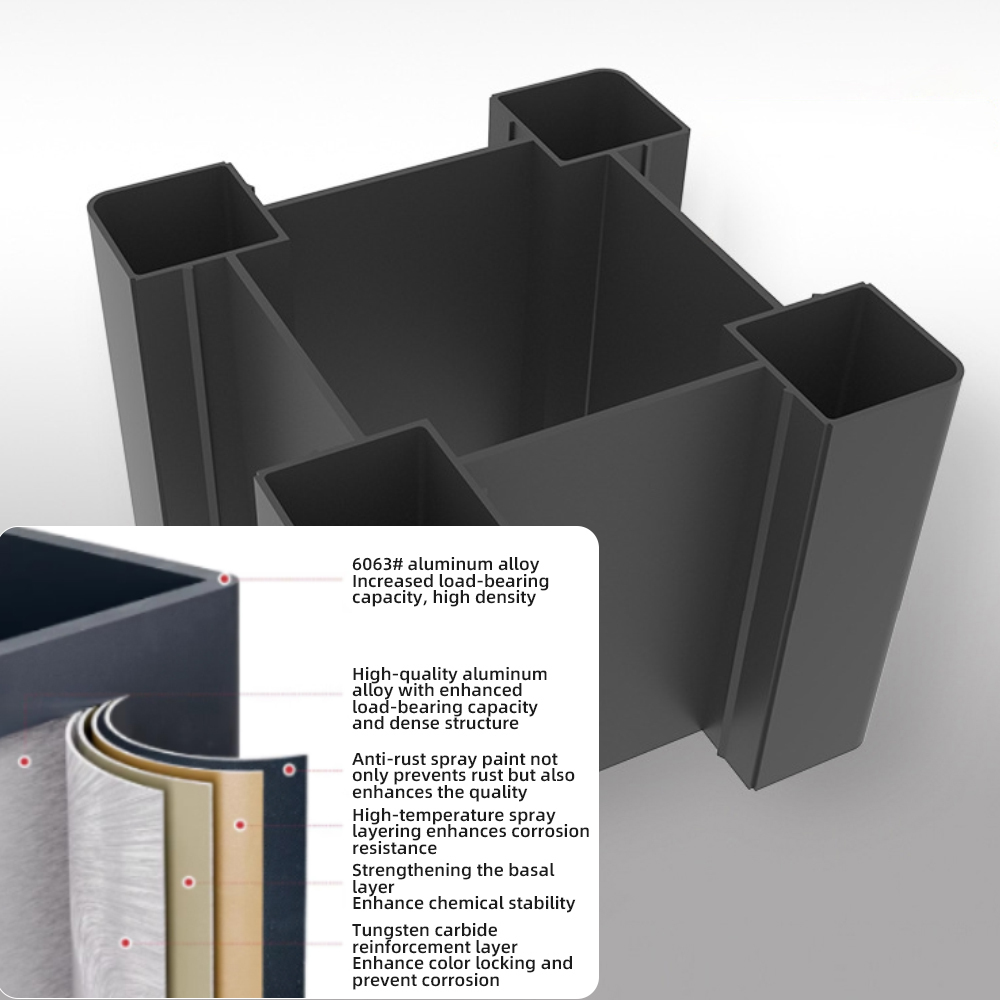
Reinforced powder-coated aluminum pergola post profile
Build your kit