Verify the jobsite
Measure the footprint, locate overhead and underground utilities, and confirm setbacks, drainage, and permit requirements.

Looking for DIY aluminum pergola kits? This guide covers the work around the prepared kit: site measurements, foundations, anchors, receiving, frame assembly, louvers, drainage, electrical coordination, testing, and local approvals. The approved shop drawing and installation manual control the actual project.
DIY pergola guide
A DIY-friendly kit still needs a construction-ready site. Set the footings and post-base layout, arrange unloading, confirm the crew and tools, and keep the approved shop drawings—not a web article—beside you during assembly.
Your next best steps
The measurements are most useful when the installer, supplier, and quote all work from the same project facts.
Plan on two to three capable adults, plus qualified trades for concrete, electrical work, and code questions when required.
The slab or footings and anchors carry the structure. Have the site-specific design approved before the kit arrives.
This page is a checklist. The approved shop drawings and supplied installation manual govern the actual work.
Installation sequence
Do not start the frame until the foundation, post-base layout, permit requirements, and kit inventory have been checked.
Measure the footprint, locate overhead and underground utilities, and confirm setbacks, drainage, and permit requirements.
Build or verify the structural slab or engineered footings. Lay out the post bases to the approved shop drawings.
Inspect the crates, match part labels to the bill of materials, and stage components in assembly order.
Stand the posts, connect the perimeter beams, brace the frame, and verify plumb and square before final anchoring.
Install the louvers, drive parts, integrated gutters, post drains, and approved wiring in the specified order.
Torque the connections, test louver operation and drainage, remove debris, and complete required inspections.
Sketch the house, slab edges, doors, windows, eaves, gutters, fences, pool, grill, and utility runs. Record the available footprint and the clear opening under the roof. Check door swing, chair pullback, walkways, and louver clearance.
Your building department may regulate footprint, setbacks, height, attachment, wind load, snow load, and foundation design. A qualified local professional should specify the slab or footings and anchors for the structure, soil, exposure, and jurisdiction. Decorative pavers are not a structural foundation.
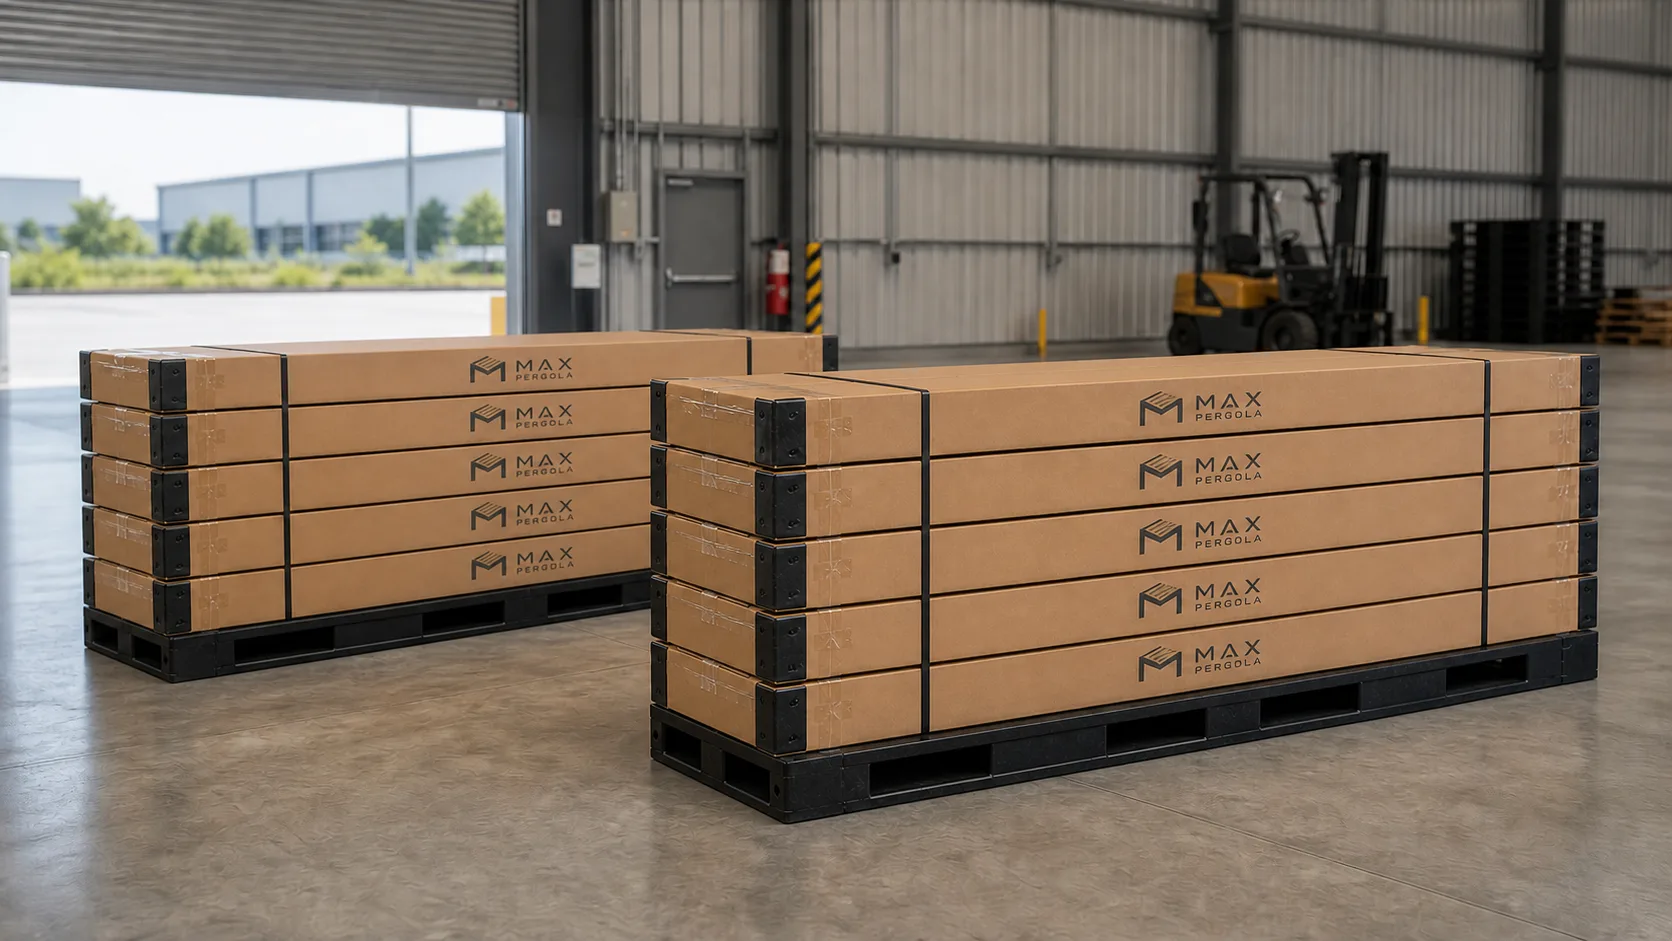
Long aluminum sections arrive in protective crates. Confirm truck access, street restrictions, gate width, unloading equipment, and who will sign for the shipment. Set aside a flat, dry staging area and photograph freight damage before unpacking.
Match every labeled bundle to the bill of materials. Sort hardware by assembly step, keep coated aluminum off bare concrete and soil, and never drag finished sections across abrasive surfaces. Stop if a part is damaged or does not match the shop drawings.
Follow the installation manual for hardware order and temporary bracing. Check both diagonals, post plumb, and beam level before final tightening or anchor drilling. Never leave a partially assembled frame unbraced or exposed to wind.
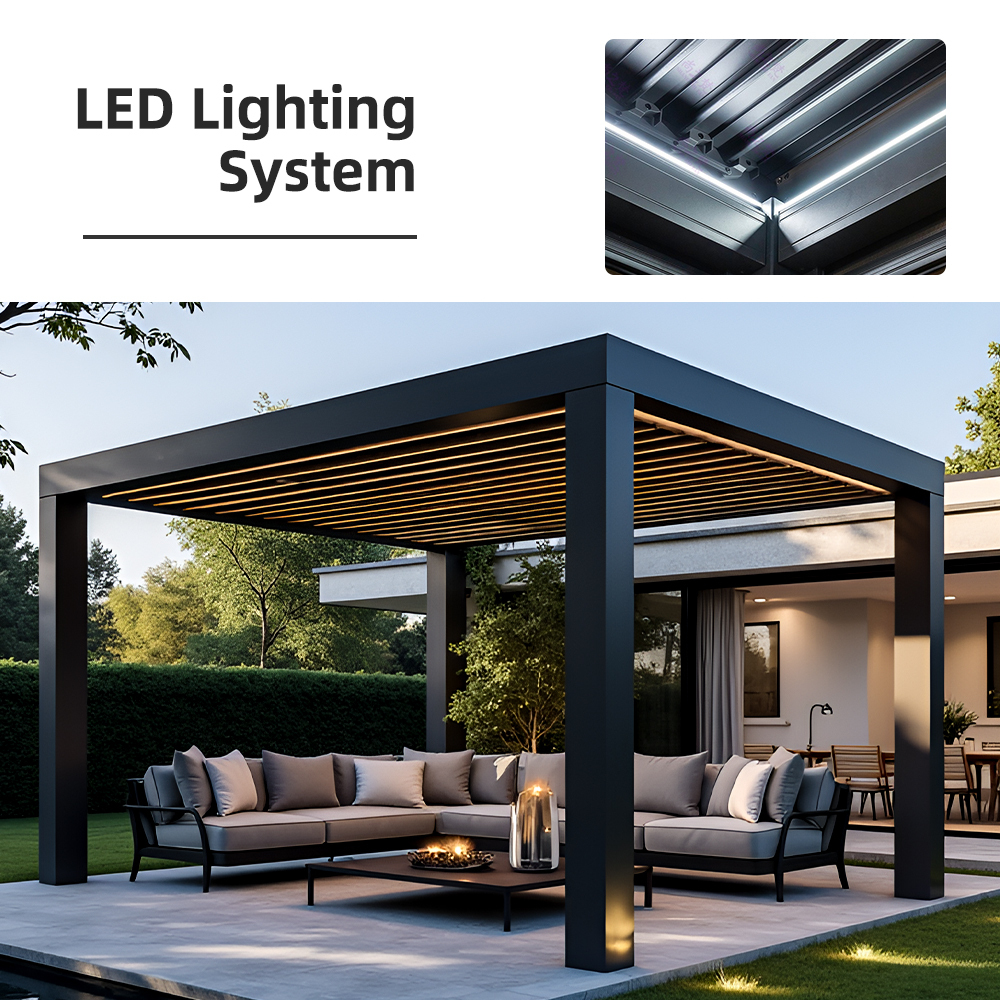
Install the louvers and drive parts in the specified orientation. Keep the integrated gutters and post drains free of chips and debris. A qualified electrician should complete motor and LED circuits in accordance with local code and the product documents.
Verify connection torque, anchors, caps, seals, smooth louver travel, gutter flow, post drainage, and accessory operation. Clean the roof channels and save the final documents for maintenance and warranty records.
Tools and safety
The approved installation manual and foundation design determine the tool list. Expect accurate layout tools, rated ladders or platforms, the specified drill and bits, torque-controlled fastening tools, and appropriate personal protective equipment.
Do not work in high winds, exceed safe lifting limits, substitute anchors, or perform electrical work outside your qualifications.
Factory-prepared vs site-built
The roughly 45-minute claim applies to prepared aluminum frame connections under suitable conditions. It is not a promise that the whole outdoor project is complete in less than an hour.
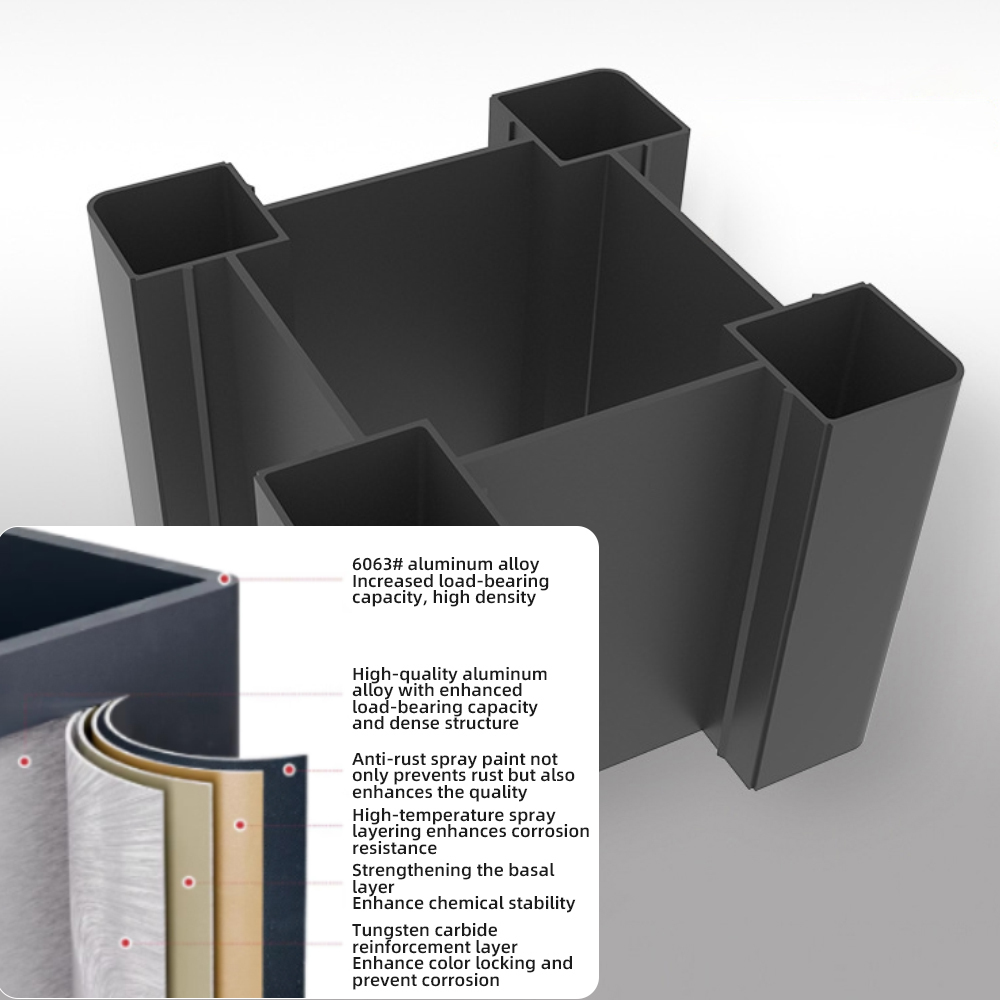
Pre-cut extrusions, pre-drilled connection points, labeled bundles, and an approved shop drawing move measuring and cutting work away from the patio. A capable crew can focus on staging, lifting, alignment, bracing, squaring, and fastening instead of laying out and cutting raw lumber member by member.
That makes the structural-frame stage more predictable, but the jobsite still has to be ready. Delivery access, a dry staging area, verified foundations, accurate post-base layout, suitable lifting methods, and complete inventory are prerequisites for a fast assembly.
A site-built wood pergola commonly requires selecting and conditioning lumber, repeated measuring and cutting, checking crown and twist, drilling or notching, temporary bracing, finish preparation, and future sealing or staining. The design, connectors, anchors, and local approval still have to match the site.
Choose a DIY pergola kit for repeatable parts and lower finish maintenance, not to bypass structural, electrical, or permit responsibilities. The best comparison uses the same footprint and includes materials, waste, tools, equipment rental, crew time, finish work, delivery, foundations, and long-term upkeep.
Project schedule
The frame can assemble quickly once the foundation is ready, but permits, concrete, louvers, wiring, drainage, and inspections require their own time.
Allow the time required by your building department, utility marking, and concrete schedule. These items usually control the start date.
The estimate applies to an experienced crew assembling the prepared structural frame connections. It does not cover the full pergola installation.
Allow additional time for final anchoring, the louvered roof, integrated drainage, motors, lighting, screens, testing, and required inspections.
*Structure size, site conditions, package options, and crew experience affect assembly time.
Ready to compare packages?
Use the footprint, footing design, layout, and delivery access you documented to choose a standard or custom configuration.