Review the jobsite
Confirm footprint, doors, eaves, utilities, setbacks, design criteria, drainage, and permit requirements.

Aluminum pergola kit installation starts before delivery. Confirm utilities, foundations, anchors, access, unloading, layout, drainage, power, permits, and inspection responsibilities before the labeled components reach the site. Use the deck guide for existing framing and waterproofing, or the attached guide for wall and flashing interfaces.
Pergola installation
The frame is only one stage of the job. A sound installation begins with the site and foundation, makes room for delivery and safe staging, and ends only after anchors, roof movement, drainage, electrical work, inspections, and owner handoff are complete.
Your next best steps
Use the site checklist and total-project budget to resolve the decisions that must be confirmed before production.
Resolve permits, underground and overhead utilities, footings, anchors, drainage, and truck access.
Inventory labeled components, follow the approved sequence, brace the frame, and verify square and level.
Complete anchors, torque checks, roof movement, drainage tests, electrical work, and required inspections.
Complete installation scope
This is a planning sequence. The approved drawings, supplied manual, foundation design, and local requirements control the actual work.
Confirm footprint, doors, eaves, utilities, setbacks, design criteria, drainage, and permit requirements.
Complete the site-specific footings or slab work and verify the anchor layout before delivery.
Inspect the shipment, match labels to the bill of materials, and group parts by assembly sequence.
Stand the posts, connect beams, brace the structure, and verify diagonal dimensions, plumb, and level.
Install louvers, drives, drainage, lighting preparation, screens, or other approved options.
Finish anchors and torque checks, test movement and drainage, and complete local inspections.
Detailed DIY sequence
These steps explain how a kit project normally moves from paperwork to handoff. They are not a substitute for the approved shop drawings, installation manual, anchor schedule, foundation design, or local code. Stop and obtain qualified help whenever the documents, substrate, lifting plan, or site conditions are unclear.
Confirm the configuration SKU, outside dimensions, post locations, roof direction, drainage exits, accessory list, and delivery address. Check setbacks, height limits, permits, inspections, and utility-marking requirements with the local authority. Record the exact wind and snow criteria from an authoritative source; the Pergola Calculator can organize preliminary wind, snow, footprint, and span inputs for the quote, but it does not approve the structure or foundation.
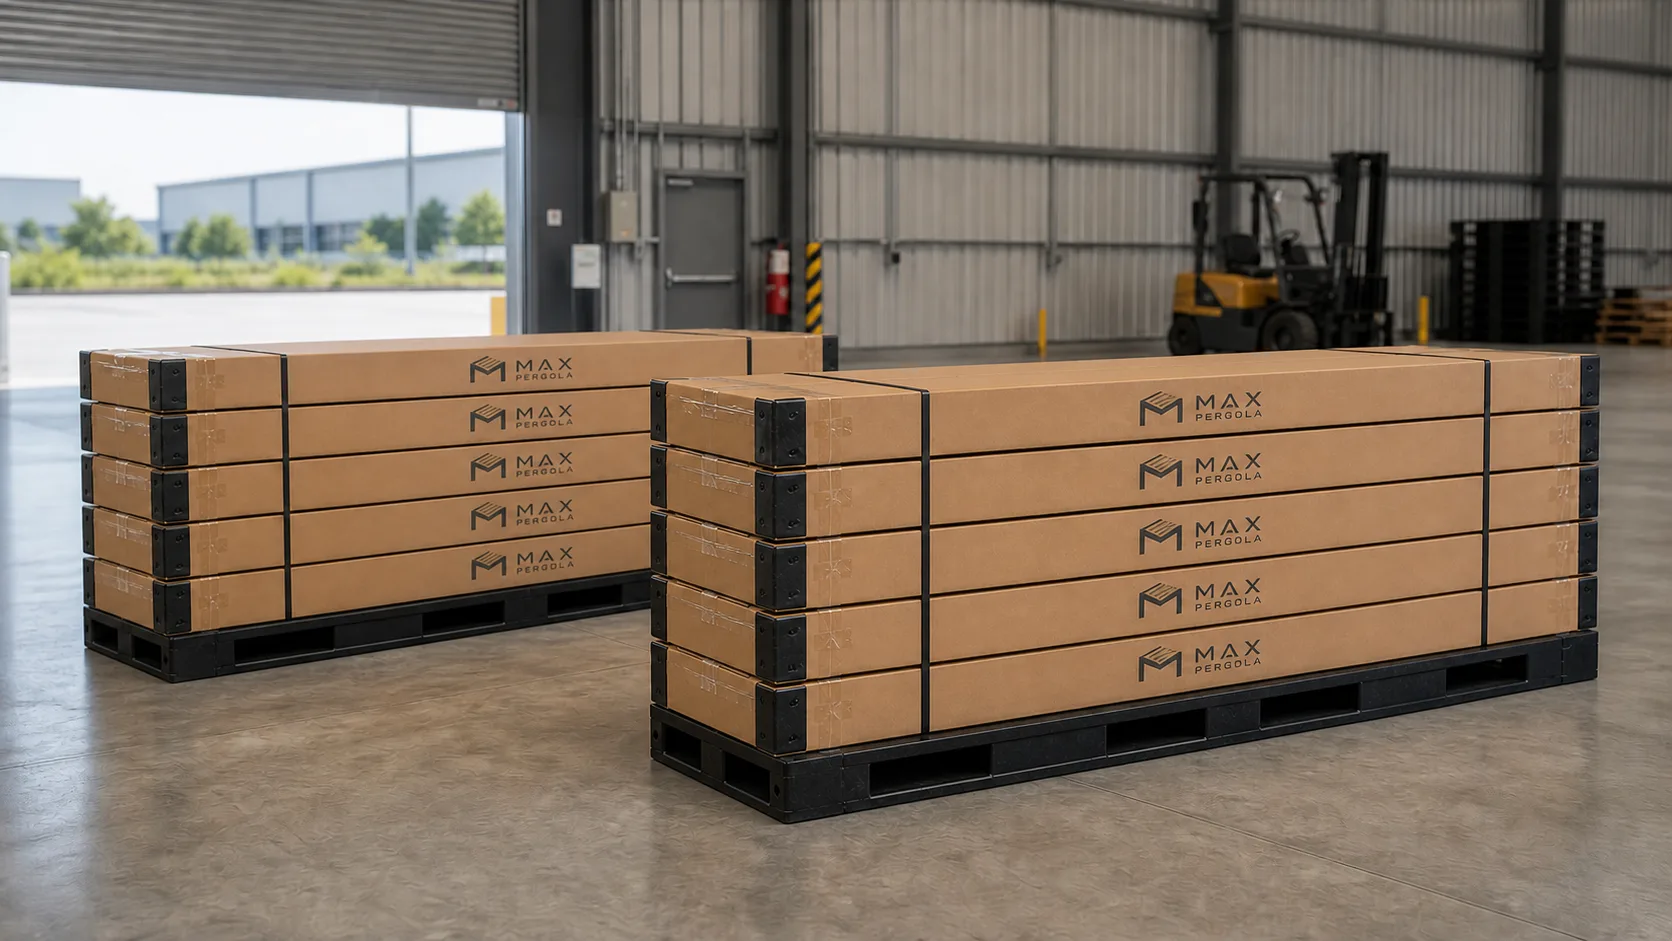
Confirm that the truck can reach the unloading point and that the crew has suitable equipment for the longest and heaviest package. Create a flat, dry staging zone that keeps coated aluminum away from soil, standing water, and abrasive concrete. Photograph the shipment before opening it, note visible freight damage, and compare every label, hardware bag, motor, control, louver group, seal, and drain component with the bill of materials. Do not begin assembly with unexplained shortages.
Use the approved post-center dimensions rather than nominal product dimensions or furniture placement alone. Establish control lines, verify slab edges and footing centers, and compare both diagonals before drilling. Recheck door swings, eaves, gutters, utilities, pool clearances, and the direction in which roof water will leave the posts. The anchor type, embedment, edge distance, hole preparation, and tightening procedure must come from the project documents and verified substrate—not a generic online rule.
Protect finished surfaces with non-marring pads, then organize posts and beams in assembly order. Use the crew size and lifting method required for the component weight and access conditions. Install temporary bracing as the frame is raised; never leave a partially assembled pergola unsupported or exposed to wind. Before final tightening, check post plumb, beam level, both frame diagonals, clear opening dimensions, and the relationship between base plates and anchors. Record required torque values instead of relying on feel.
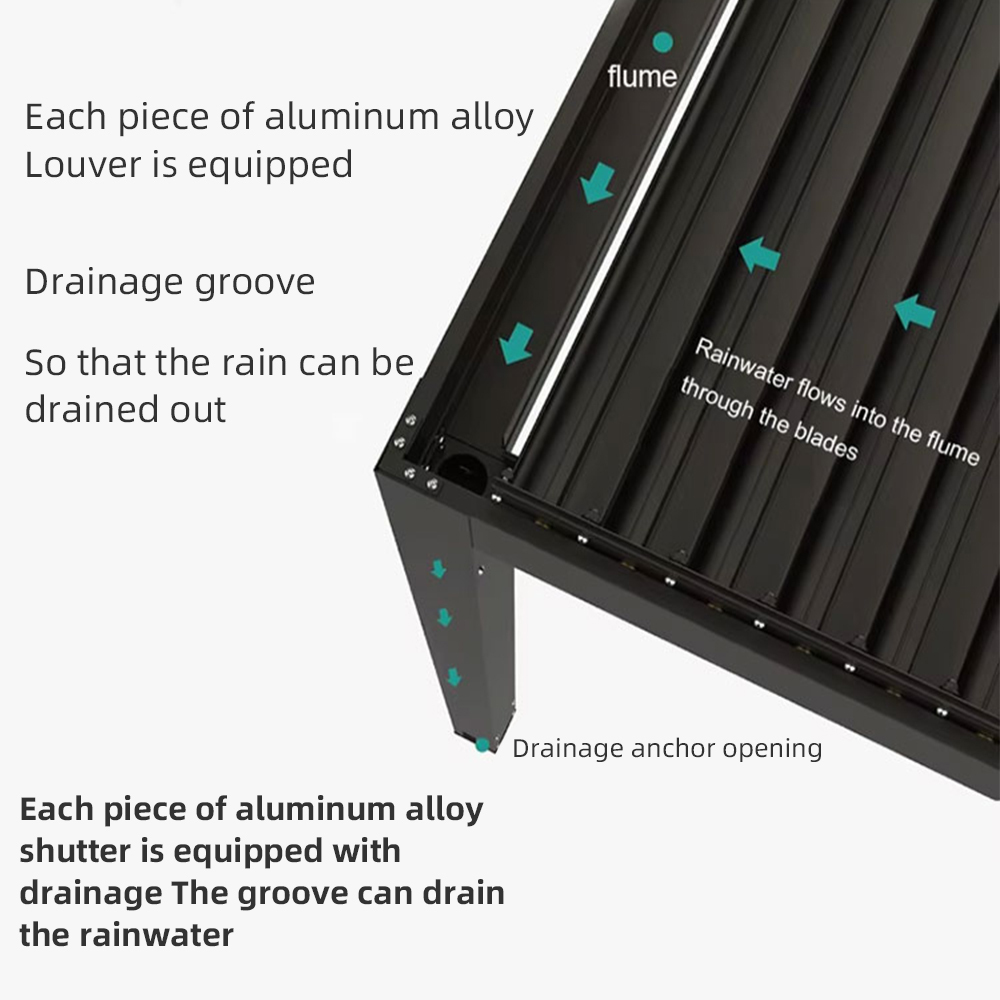
Follow the documented louver orientation and drive sequence so the roof moves without binding. Keep chips, packaging, and sealant out of gutters and post drains. Confirm that every drain outlet discharges where water can move away from the foundation. Screens, glass, privacy slats, heaters, outlets, motors, controls, and LED components must match the approved mounting and wiring preparation. A qualified electrician should complete branch circuits, grounding or bonding, wet-location fittings, disconnects, controls, and inspections where required.
Complete the anchor and connection checks, remove temporary bracing only when the approved sequence allows, and operate the louvers through their full range. Test drainage with controlled water while watching gutters, joints, post outlets, and the surrounding grade. Verify remotes, switches, limits, lighting, screens, and other accessories. Photograph the finished installation, record inspection results and final torque checks, and give the owner the approved drawings, manual, warranty, maintenance instructions, spare parts, and installer contact details.
Professional installation options
Professional help can cover one risk-critical phase or the entire project. Ask each bidder to identify deliverables, exclusions, permit responsibility, schedule dependencies, insurance, and workmanship coverage in writing.
A local architect, engineer, permit expediter, or code consultant can confirm zoning, setbacks, design criteria, submittal requirements, foundation assumptions, attachments, and required seals. This option is especially useful for attached pergolas, high-wind or snow regions, unusual soil, elevated decks, commercial property, and sites where the authority requests calculations.
A concrete or pergola contractor can handle demolition, excavation, reinforcement, formwork, concrete placement, anchor layout, unloading, lifting, frame assembly, roof installation, drainage, and inspection coordination. The proposal should state whether patching, disposal, equipment rental, traffic control, finish repairs, and return visits are included.
A qualified electrician can size circuits, route conductors, provide wet-location protection, connect motors and lighting, and coordinate controls with the local inspection process. Screen, glass, heater, automation, and outdoor-kitchen specialists may also be needed. Confirm who tests the completed system and who responds if one trade's work affects another component.
What 45 minutes means
An experienced two- to three-person crew can typically assemble the prepared structural frame in about 45 minutes under suitable conditions. That is not the total installation time.
DIY or professional help
Who performs each task depends on the jobsite, local rules, crew experience, tools, and the approved project documents.
| Project task | Possible DIY scope | Professional review or trade |
|---|---|---|
| Measuring and planning | Document furniture, doors, slab edges, and access | Survey, code, setback, or structural questions |
| Foundations and anchors | Only when drawings, substrate, and qualifications support it | Site-specific design and structural base work |
| Frame assembly | Capable crew following approved instructions | Complex access, attached layouts, or heavy lifting |
| Motors, lighting, outlets | Non-electrical staging described in the manual | Qualified electrician and required permits |
| Final inspection | Owner punch list and maintenance record | Authority inspection or professional signoff where required |
Hiring a local installer
Max Pergola does not present this page as a nationwide installer directory. Use the checklist to evaluate a local builder or pergola installer for your actual postal code.
Confirm locally required licensing and insurance, then ask for completed aluminum or louvered-roof projects with comparable access and foundations.
Identify who handles permits, demolition, footings, anchors, unloading, electrical work, disposal, testing, and final inspection.
Separate the product warranty from workmanship coverage, and document who returns for alignment, drainage, controls, or finish issues.
Installer brief
| Provide | Why it matters | Decision to record |
|---|---|---|
| Site photos and measured sketch | Shows doors, eaves, slab edges, slopes, utilities, and access | Post locations and layout |
| Configuration SKU and quote | Defines roof package, size, finish, and requested accessories | Product scope versus field scope |
| Foundation and anchor documents | Connects the structure to actual substrate and design criteria | Who supplies and installs each item |
| Electrical and accessory list | Prevents late conflicts with louvers, drains, screens, or heaters | Circuits, controls, and responsible trade |
| Delivery and unloading plan | Matches crate size and truck access to labor and equipment | Receiving date, crew, and unloading responsibility |
Pergola installation FAQ
The complete schedule depends on permits, foundations, anchors, roof components, electrical work, accessories, and inspections. The about-45-minute estimate applies only to prepared structural-frame assembly by an experienced two- to three-person crew after the site is ready.
A capable crew may assemble a pre-engineered kit, but structural base work, anchors, electrical work, attached layouts, permits, or inspections may require qualified local professionals. Follow the approved drawings and manual.
Do not assume it does. The written quote identifies the product, freight, unloading, available support, and exclusions. Local labor, foundations, permits, electrical work, and taxes may be separate.
Compare required licensing and insurance, similar completed work, the written foundation and anchor scope, electrical coordination, permit responsibility, schedule, cleanup, exclusions, and workmanship coverage.
Start with a complete project brief
Choose the roof package and footprint, record the site conditions and delivery country and postal code, then separate product, freight, foundations, labor, electrical work, and permits.