Measure both the roof and the usable area
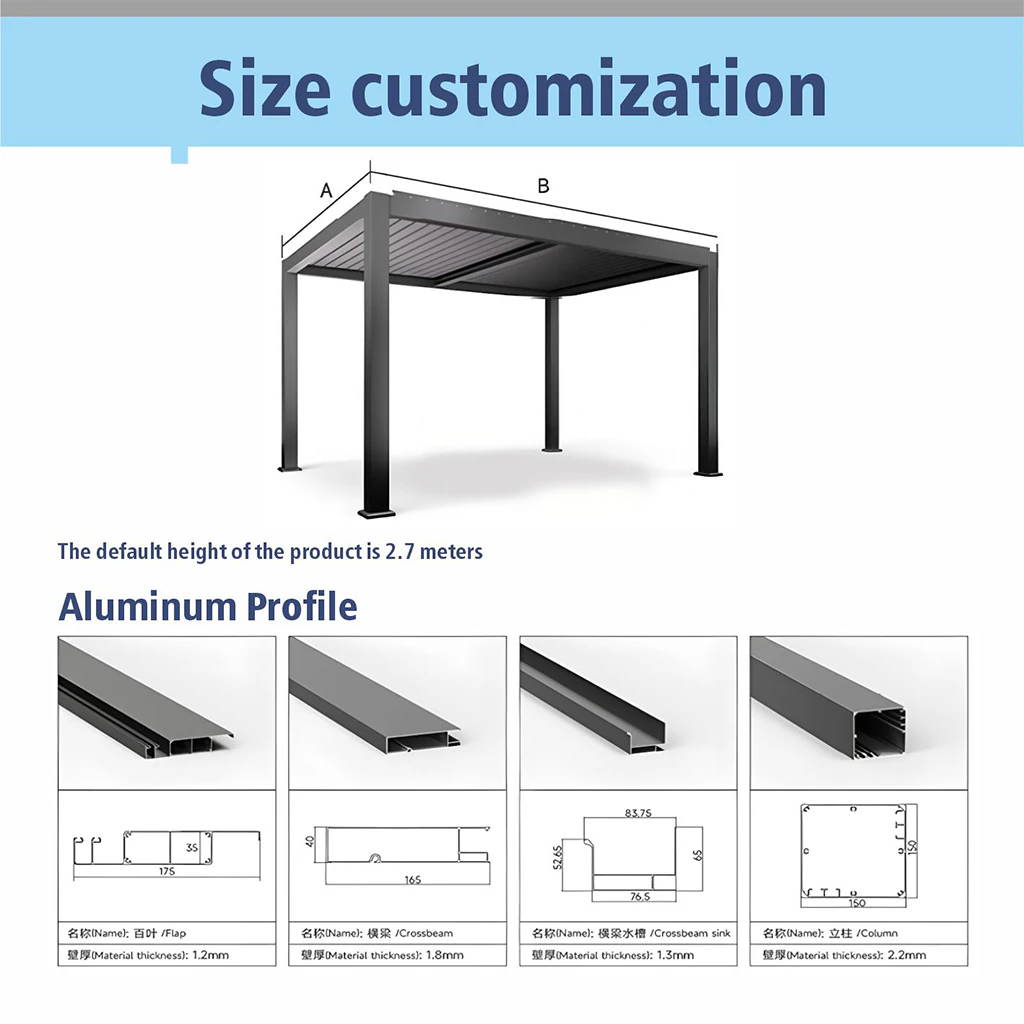
Record the desired outside frame size, post-center dimensions, minimum clear height, grade changes, and distance to the house, fence, pool, trees, and property lines. Add furniture dimensions, chair pullback, grill or heater clearances, and the delivery route. Photographs should show the full patio and close views of each proposed post location. A marked-up plan is more useful than a single width-and-depth message.
Describe the structural base honestly
State whether each post sits over a new footing, existing slab, pavers, deck, roof terrace, or unknown construction. Provide available slab thickness, reinforcement, cracks, edge distances, soil or footing information, and access for excavation. The initial quote can identify assumptions, but foundation and anchor approval must follow verified conditions and applicable local requirements.
Choose controls and accessories before routing services
Compare the manual and motorized options on the main pergola kits page, then include lighting, screens, privacy elements, outlets, fans, or other planned accessories. Motorized louvers and lighting require a coordinated power route, controls, weather protection, and service access. Adding these after fabrication can create exposed wiring or field changes that were not included in the original scope.
Budget the entire arrival-to-handoff sequence
Use the cost guide for freight, unloading equipment, storage, foundations, anchors, assembly, electrical work, drainage, permits, taxes, and inspections. Then read the installation guide to assign every task. Confirm who receives the shipment, checks damage, protects the cartons, installs the frame, tests roof movement, checks water flow, and completes owner handoff.
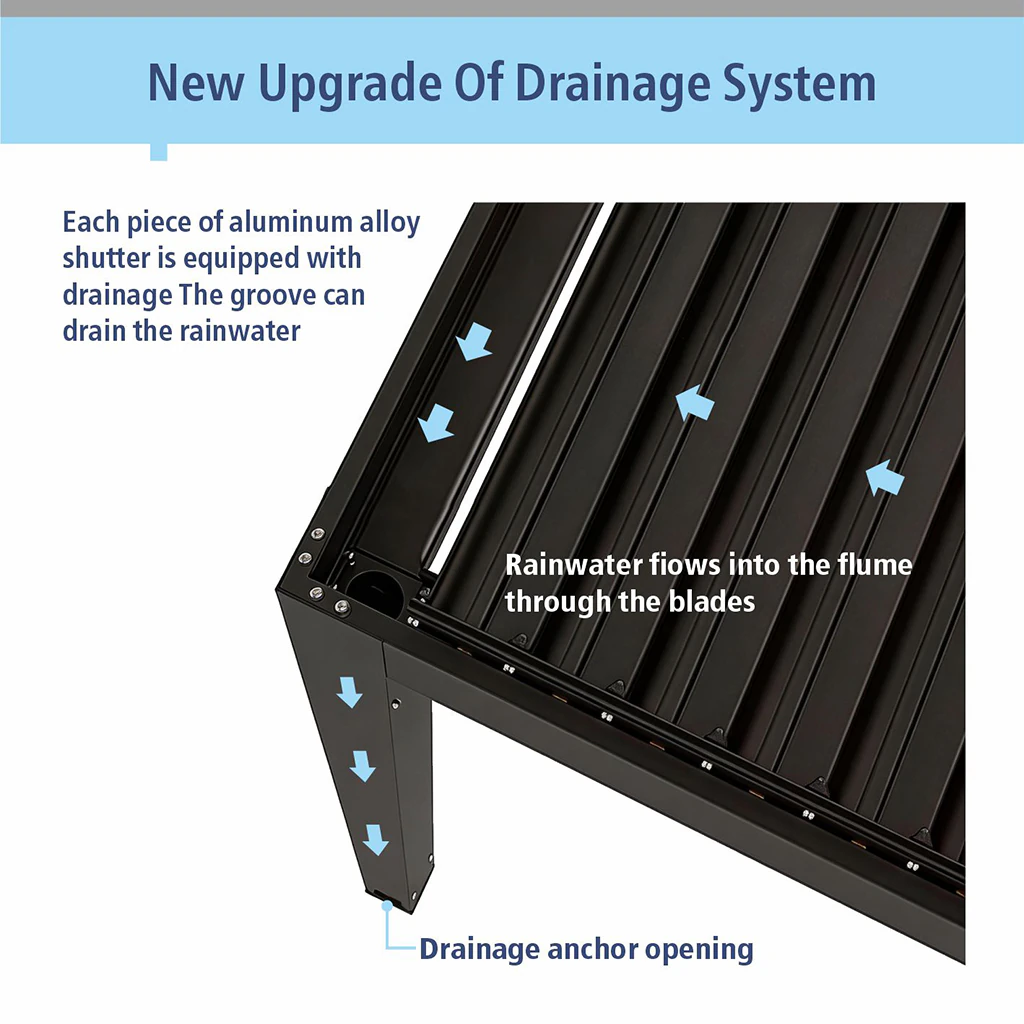
Ordering checkpoint: Do not approve production until the quotation and shop drawing agree on footprint, post centers, clear height, louver direction, drain posts, finish, controls, accessories, delivery boundary, and local work.