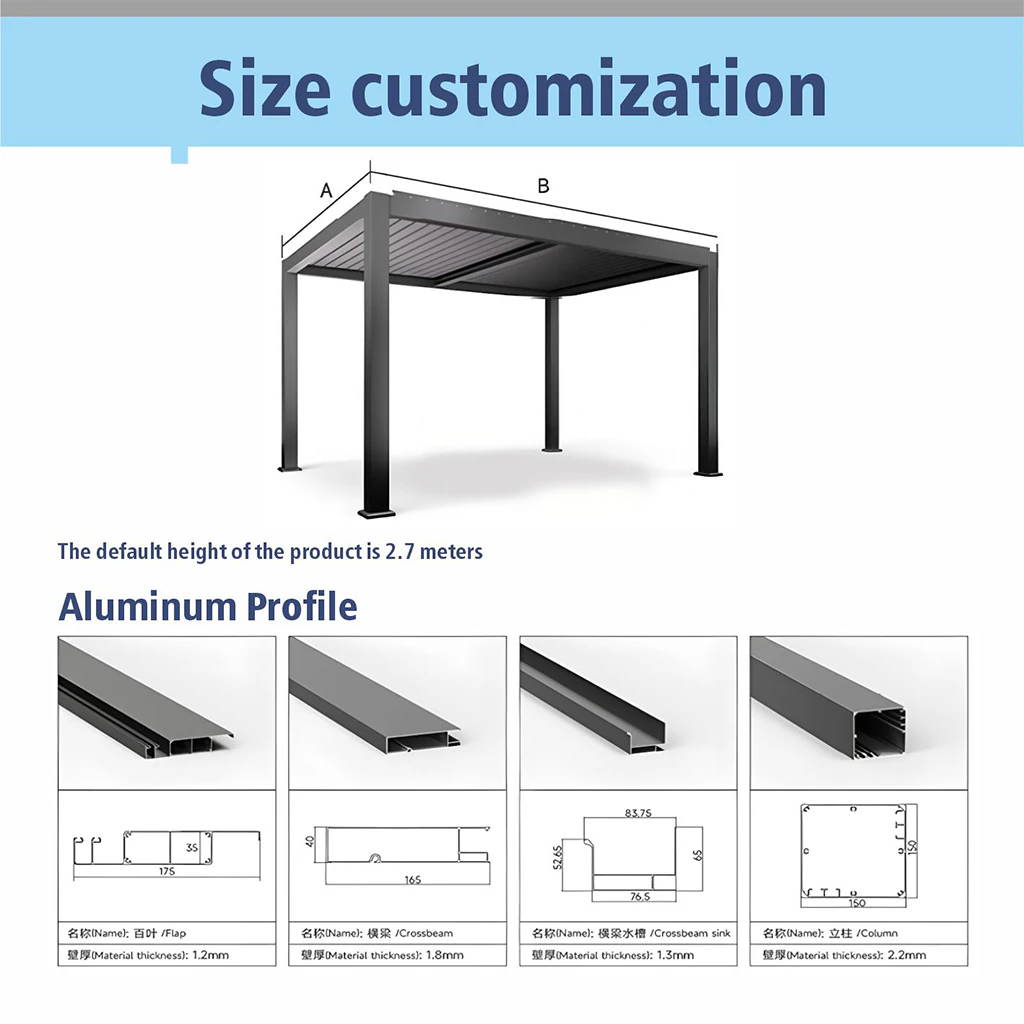
Inspect the proposed post locations
Look for slab edges, cracks, drains, underground utilities, steps, pool shells, retaining conditions, and door clearances before locking the footprint.

House-side outdoor room
Removing two outer posts may simplify patio circulation, yet it transfers the hardest question to the house. Structure behind the finish, connection geometry, flashing, drainage, outer footings, and roof clearance must be documented as one interface.
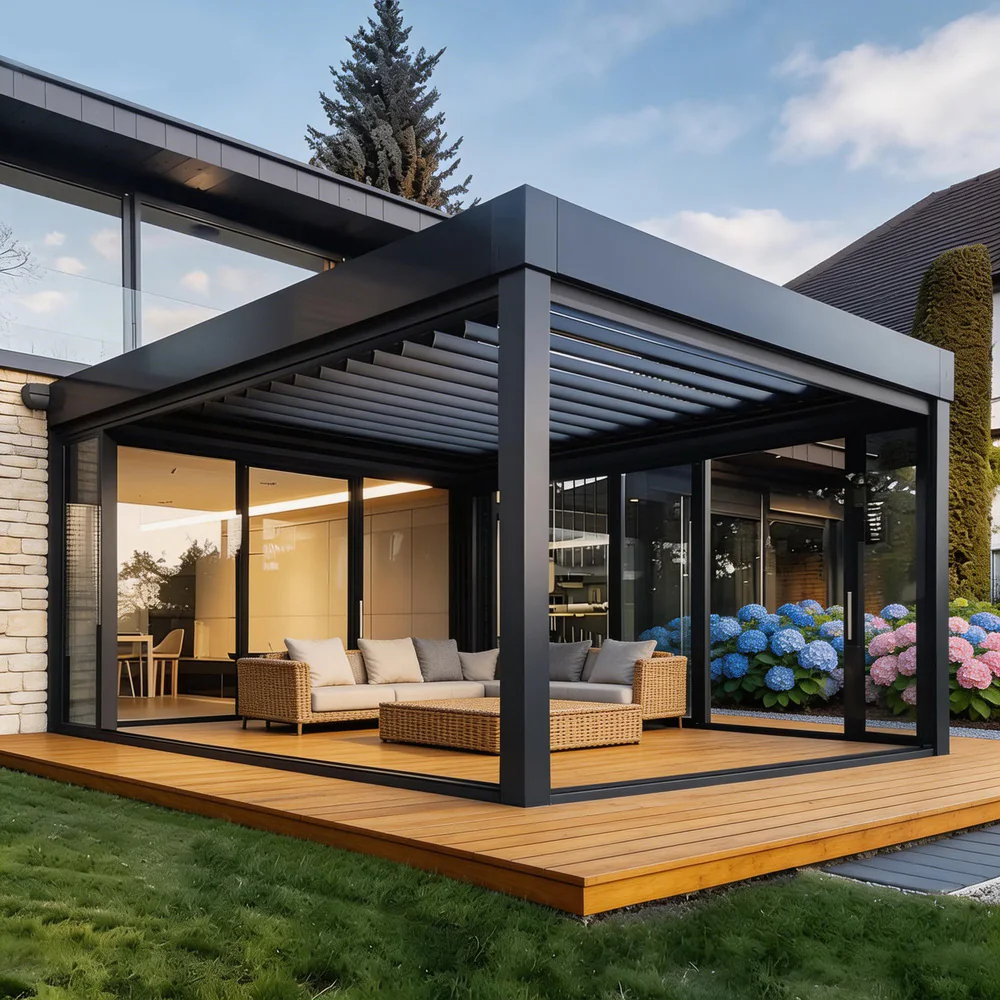
Three interfaces
The kit, existing house, and local jobsite must meet at documented boundaries.
Existing-building review
Siding, stucco, brick veneer, stone veneer, and trim are not automatically structural attachment points. The connection must reach a verified load-resisting element.
Record the wall length, roof or eave height, soffit depth, fascia, gutters, downspouts, windows, doors, lights, outlets, vents, hose bibs, utility penetrations, and finish transitions. Interior access, original drawings, or selective investigation may be needed to identify framing or masonry. Do not infer structure from finish appearance alone.
An attached pergola commonly uses posts at the outer edge and a documented building-side support, but “two-post pergola” is not a complete structural description. The approved drawings must state the support locations, connection geometry, fasteners or anchors, edge distances, corrosion protection, and responsibility for verifying the existing building.
Check required headroom, door swing, window operation, bedroom egress, exterior stairs, and service access. The roof should not trap water at a threshold or block inspection of the wall. If the available height is too tight for the frame, louvers, slope, flashing, and drainage, a freestanding layout may provide a cleaner separation.
The quote should state what Max Pergola supplies and what the owner, installer, contractor, engineer, or local design professional must verify. Existing-building evaluation, permit drawings, wall modification, flashing integration, foundations, anchors, electrical work, waterproofing, installation, and inspections may be outside the kit scope unless specifically included.
Open louvers can admit daylight near windows and release rising warm air. Angled louvers can control low sun. Closed compatible blades can direct ordinary rain into the pergola drainage path, but the wall interface still needs independent weather protection. A pergola is not a substitute for the house roof or building envelope.
Side screens, glass, privacy slats, heaters, fans, and lighting change clearances, loads, service routes, and airflow. Include them early instead of drilling through the frame or wall after installation.
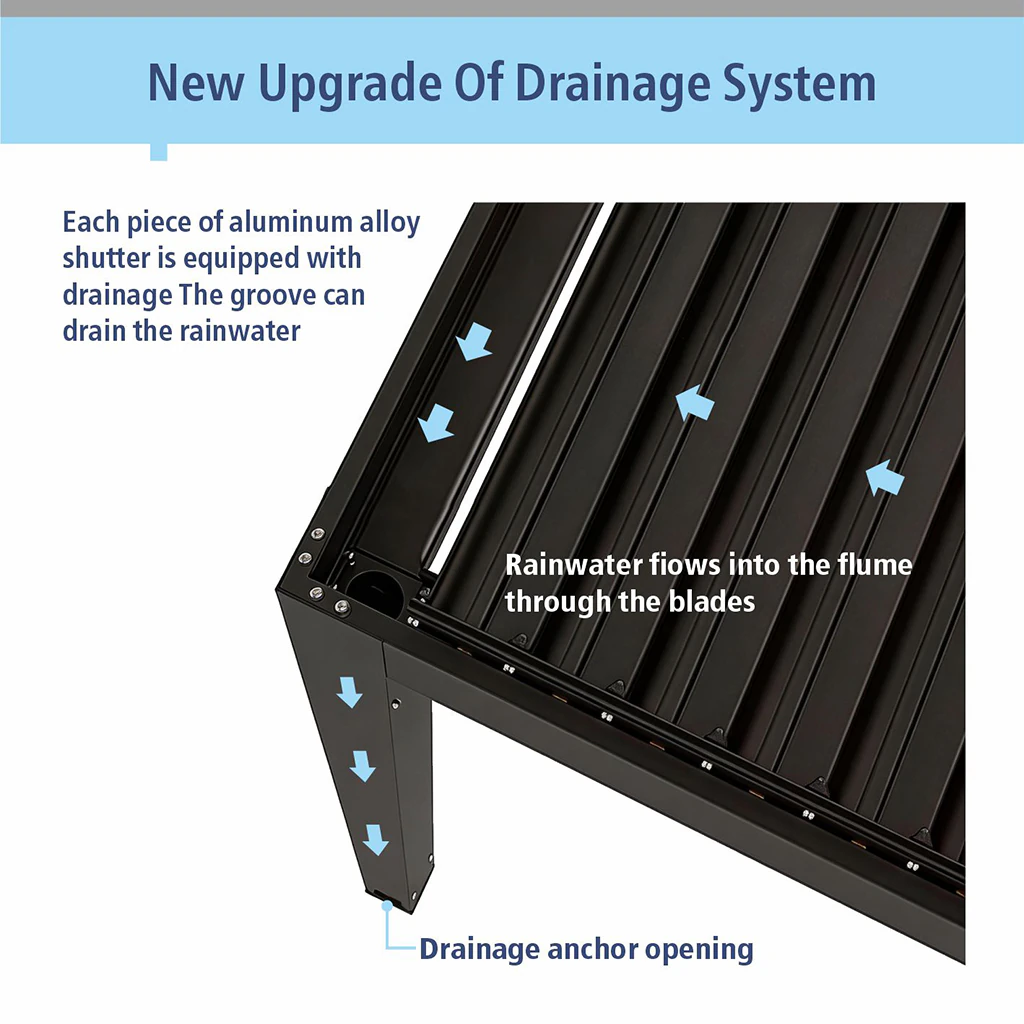
Flashing and drainage
Flashing must integrate with the existing weather-resistive barrier and exterior finish using details appropriate to the building. Surface sealant alone is not a universal flashing system. The project team should resolve sequencing, end dams, terminations, penetrations, dissimilar materials, inspection access, and repair responsibility.
Closed louvers, gutters, flashing, and post drains solve different parts of the water-management problem. Wind-driven rain, splash, condensation, snow, ice, debris, and severe weather still require realistic expectations and maintenance.
Outer supports
Outer posts still transfer gravity, wind, and frame forces to the ground. Verify the slab, footings, anchors, soil, utilities, edge distances, and local design criteria.
Look for slab edges, cracks, drains, underground utilities, steps, pool shells, retaining conditions, and door clearances before locking the footprint.
Anchor type and embedment depend on the verified base, loads, edge distance, corrosion exposure, installation method, and approved documents.
Roof edges, corners, open terrain, slopes, and attached side panels can change exposure. Provide the requested site data rather than relying on a postal code alone.
Written scope
A complete attached-pergola plan identifies the configuration and the work that remains local.
Frame, manual or motorized louvers, selected finish, drainage components, and listed factory preparation.
Existing-structure verification, connection design, wall opening, blocking, waterproofing, flashing, and finish restoration.
Foundations, anchors, access, unloading, assembly, electrical work, drain discharge, permits, and inspections.
Final torque, movement tests, water-flow checks, controls, maintenance access, documents, and owner training.
Before requesting a quote
An attached pergola purchase moves smoothly when the supplier and local building team review the same wall information, dimensions, drainage concept, and division of work.
Provide wide photographs that show the patio, wall, eaves, roof edge, doors, windows, stairs, and proposed outer posts. Add close views of siding, stucco, brick or stone veneer, soffits, gutters, downspouts, lights, outlets, vents, and other penetrations. Measure the wall length, proposed roof height, soffit depth, door and window heads, and distance to nearby corners. Interior photographs or drawings can help identify framing, but local verification is still required.
Do not describe a finish layer as the structure. Tell the project team whether the wall is wood-framed, steel-framed, concrete, masonry, or unknown; whether interior access is available; and whether renovations may have changed the original construction. Unknown conditions should appear as a pre-installation investigation item rather than an unpriced assumption.
The building-side connection, outer foundations, frame height, louver movement, flashing, gutter path, and post drainage must fit one geometry. Compare the proposed solution with a freestanding pergola if wall access, headroom, waterproofing, or responsibility is difficult. For an elevated patio, also review the deck pergola planning guide before assuming the surface can receive post loads.
Use the project cost guide to capture investigation, engineering, foundations, anchors, flashing, finish removal and restoration, freight, unloading, assembly, electrical work, permits, inspections, and taxes. Review the installation sequence with the local contractor before ordering so access, sequencing, sealants, wire routes, and water testing are not discovered after the kit arrives.
Continue the attached-pergola journey
Resolve the building interface before selecting accessories or releasing the kit for production.
Attached pergola FAQ
No. The existing structure, finish, openings, roof geometry, foundations, loads, clearances, flashing, drainage, and local rules must support the proposed layout. Some sites are better served by a freestanding configuration.
Attached layouts commonly use outer posts and a building-side connection, but the exact support arrangement must follow approved project drawings. “Two post” alone does not define the wall load path or foundation requirements.
The written quote and installation scope should assign responsibility. Flashing must suit the existing building envelope and may require a qualified local contractor or design professional.
Yes, subject to configuration review. Confirm power, controls, service access, wall penetrations, lighting routes, electrician work, commissioning, and weatherproofing before production.
Start with photos and dimensions
Send the wall, eave, doors, windows, patio, proposed posts, drainage, and access. The written review will identify required local verification and scope boundaries.